Showing posts with label hobbies. Show all posts

Sunday, 1 March 2015

Nuss, Sids, Fa-Ball and Urms

I've nearly finished principal planting on the middle island out front.  There's a revision to make (some roses need moving) and I'll be doing that in the next few days.  I've also got to get in some currants.  Mostly though it's done.  The side bit I'll do in the next few weeks.

It's turning into a very busy Spring this year, but that work and expense will sort me out for years.

Ellie, my niece, loves birds.  Planes too, but mostly birds.  If it flies it becomes an instant object of fascination, though a bird on the ground is just as interesting to her.  So yesterday I put a bird feeding pole into the middle bit and in so doing gave Ellie the first serious responsibility she's had in her fourteen months of life: filling up the tubes.  She's also picked up a few new words.  We sat on the floor and did it together, grabbing handfuls of nuts (or nuss) from a bag and dropping them into a wire tube.  I screwed the lid back on and we went outside together to hang it from the hook.  We filled two plastic tubes with sids (seeds), hung fa-ball (fat balls) from hooks and put sute (a suet feast) into a cage and together we hung all of these on hooks.  She needed help getting the rings over the hooks, but her hand was on it so now she's got the gist of how it goes.  I also poured out a goodly number of urms (mealworms) onto a wire tray halfway up the pole.

She laughed and had a right old time.  We got as many sids on the carpet as we did in a tube!  Anything that involves using her hands, getting messy and getting outside will always meet with her approval.  So now she has a job: refilling the tubes whenever they empty.  She'll learn about duty in a way that's fun, which is a great start.  Meanwhile the pole is outside her window, so when she wakes up before her mum she can go to the window and watch birds instead of getting into cupboards and eating the sudocrem.


Now to see if we can encourage Bill to stay in at dawn and dusk...

Sunday, 23 November 2014

Winter

It sleeted the other day in Teddington, which I'm taking as a sign that the Wintersmith has stepped up for his turn at the dance.  As there's no planting or plant-activity left to do in the garden, I thought it might be an idea to just take stock of where me and my garden are at this year and what's planned for the quiet season.

First, we have a new addition to the family.  Our Sam had a baby.  I've mentioned her before, her name is Ellie, she's turning 1 in December and she's already toddling at a run.  She's got a fair vocabulary up to now:

Miaow = Bill or any cat
Doos = Juice
Doyan = Diane
Durj = George
Door = Door
Edjig = Hedgehog
Mum = Mum
Nana = Nana
Chickenchickenchicken = Chicken.

I buried my Dad this Autumn, which was as hard as you might expect.  I might write more on that in the next few months, but I'm in a weird sixth stage of grief right now.  I've gone through the five as normal, but my mind still isn't at rest so I've been making a lot of jam and I've been poopsocking heavily on the xbox.  On the plus, I can now make lemon curd.  He liked lemon curd did our Cubby, he liked the Beatles too, so when I did a job up Hampstead the other week I swung by Abbey Road on the way home, spent some time sitting by the zebra crossing with my thoughts.

It seems I've been shortlisted for a job as a lab tech.  Won't find out until tomorrow.

The garden then.  The trees out front had a fungal thing but I've treated that organically by dousing the leaves with diluted milk and by adding calcium to the soil.  The new thornless brambles are making it easier to gather the fruit, and Ellie loves doing that.  She sits on my Mum's lap out on the ramp and picks the blackberries that grow along the handrails.  There'll be more planted on the other side too, but not just yet.  I want to get two more cherries in first.

The back garden is having its annual lawn die-off.  The back garden faces North so we can only keep a lawn for a Summer.  The fruit bed is doing well though.  The loganberry plant is halfway along the trellis now, chasing the last of the Sun.  The gooseberries are looking iffy, in that I can't quite tell if they're dead or just hibernating and I shan't know until Spring.

Out front the neighbours' fence is still a bit dodgy.  It was put up by cowboys and so in the first breath of wind it collapsed and damaged their car and my pear tree.  I've made some repairs to it (because it's cheaper than cleaning up after cowboys - the last time they came out to make repairs they dug a hole round the post, filled it with dry cement powder and buried it) but I'm still not happy, so when I get some dough I'll buy a couple 8' tree stakes and drive them 4' deep.  Against that fence I've got an elderberry and three kinds of raspberries.

I'm looking at ways to make my front garden more wildlife friendly.  The bark on the ground is attracting woodlice, I've got a log with holes drilled into it which attracts ladybirds in the warmer seasons.  Plenty of dead wood for beetles.  Once my dwarf orchard grows to size it'll start attracting bats, at which point I'll consider bat boxes in the eaves.

Now birds and hedgehogs...  My front garden has two plantable areas, which I term the Island and the Outside.  Here's a map, not to scale:

The North edge of the Island is already lined with rosemary and lavender.  I think I might continue those around the Western edge and then along the South edge.  I'll site a hedgehog box in the centre and fill out the middle of the Island with gooseberries and bush roses.  There's already jasmine and brambles growing against the railings, and together it should make for a dense enough hedge to support birds and hedgehogs.  

At the Northernmost end of the Outside, up against the wall I've got climbing roses, Etoile de Hollande, but as they grow the bottom will need cover to look nice.  I'm thinking Buxus sempervirens, maybe bush roses, maybe lavender.  This'll come out by a foot or so and again I can work in a hedgehog box.  I'll put blackcurrants in front of that.  Maybe I'll separate the blackcurrants from the rest of the bush with a little hidden chickenwire so that Ellie isn't grabbing rose prickles. 

I'll put a narrow path down the middle of the Western bit of the Outside, from the blackcurrants down to just East of the Westernmost cherry.  At the end of this path I'll put a wee storage thing in the shade of the front fence (where little else grows), while either side of that path I'll sow herbs and strawberries.  I'll also put in bee pots to encourage bees.  

Next year I'll fit windowboxes for basil and sage.  I'm gradually accumulating nice pots, some of which will house a mix of flowers and herbs, others will hold mint by itself because mint is the Britain of plants: it'll colonise the entire pot! 

This year we were sufficient in three things: rosemary, bay leaves, and blackberries.  Next year we ought to be sufficient in those plus sage, raspberries, verbena, loganberries, blueberries, gooseberries and hopefully thyme.  Thyme's tricky though in my garden.  Within the next three years we should become sufficient in those plus strawberries, basil, mint, blackcurrants, elderflower, elderberry, figs, and seasonal stonefruits (apples, pears, cherries).  

And that's been my year!

Saturday, 27 September 2014

Stuff in jars for the Winter

Now bear in mind a chutney has some staple ingredients: vinegar, sugar, salt, pepper, that I shan't bother listing again for each.  I also tend to include bay leaves and chilli flakes in all my chutneys.


Rear, from left to right: 

  • Pickled shallots with apples, peppercorns, beet stalks and juniper berries.  
  • Pickled garlic with red peppers, basil, lemon thyme, bay leaves, peppercorns.  
  • Dried, home-grown sage.  
Middle, left to right: 
  • Dried, home-grown rosemary.  
  • Beetroot, onion and plum chutney.  
  • Tomato, red pepper, red onion and garlic chutney with home-grown oregano.  
  • Mango, green pepper, carrot and onion chutney.  
Front
  • "Rhubramble" jam.  There's eight jars that size rather than one big jar in order to combat Bready Knife Syndrome.  
That should be me and mine set up for the Xmas period.  Our Sophie lives down in Reading so she's got an 0.25L jar of each chutney and one of the wee jam jars as cupboard-fillers for the Winter.  

Monday, 6 May 2013

Busy weekend, pt. 2

I've finally got the first of my beds built!  I've built the fruit bed and the first two vegetable beds.  I would've blogged this last night but just as I sat down to the keyboard there was a mass exodus out the door to see Iron Man 3 and I just had to go with.

The long bed that runs along the East fence is the fruit bed.  The shorter one in the centre of things is one of the veg beds.

You want broken bricks in the bottom for drainage.  If you can only get so many bricks but have a bunch of slabs then divide them as follows: bricks under the veg beds, slabs under the herb beds.  The reason for this is that slabs have a higher pH than bricks, and herbs can generally tolerate a higher pH than veg.

I dug a pit and filled it with broken bricks,

-parked a bed over the pit,

-and half-filled it with soil.

As you can see from the plan, these are bed 1 and bed 2.  The finished beds will project twice as far.

This week I'll be shopping for compost to fill the remaining space with, as neither my compost nor my leafmould are fully decomposed and ready to use yet.  It looks shabby just now but this is the bare bones, and even that much isn't finished.  Once I've got stuff on the grow it'll look better, and better still when I've got grass growing in the rows between the beds and perennial plants like herbs in the herb beds and fruit in the fruit bed.  The rosemary will really set it off.

Lastly then, because I am a fantasy gamer to my bones, a little flourish:

Back to the grind...

Friday, 21 December 2012

Testing the cider

I've made the cider, I've racked the cider, and today I've tested the cider.  To do this I arranged some time in a lab, but you can do this at home if you have the parts:


  • Hotplate,
  • Pyrex beaker,
  • Mercury thermometer,
  • 100cc cylinder, graduated by 1cc increments,
  • Clamp stand
Measure out 100cc of the cider using the cylinder, transfer it into the beaker, pop that onto the hotplate.  Stand the thermometer in the cider, using the clamp stand to ensure that the bulb of the thermometer is near to the bottom of the beaker but not quite touching it.  Heat it to 72ºC for a couple minutes until it's steaming nicely then take it off the heat and wait for the steam to stop.  You wait for the steam to stop in order to get an accurate measurement.  Once it isn't steaming any more, put it back into the measuring cylinder and read the volume.  We will call this new measurement X.  

  100 minus X = your percent ABV
100 - 92 (my X value) = 8% ABV

I also tested it at a lower temperature to gauge the methanol content and judged it to be less than half a percent.  I used Benedict's solution to test for aldehydes (formed when ethanol goes off) and found none of the characteristic orange sludge which appears in a positive test.  

It tasted largely of rhubarb.  Very sharp, but not too sharp.  I think next week we'll be good to go!

In other news: that arum has grown since it moved to its new home.  It seems to have settled in quite nicely :)

Sunday, 16 December 2012

Woodcare

  Thanks to the efforts of the weather, crap builders and one inconsiderate smoker (who has been soundly bollocked, fear not), my bench is in a bit of a sorry state.  I've brought it in, planed it and sanded it.  I also improved it by using the plane to round off the corners, making it more comfortable.  Granddad Rab would be proud-ish.  I'll give it another sanding tomorrow morning then varnish it.  Jobs like these make me wish I still owned a belt sander (we lost it in a move), so when I've a few bob spare I'll have to have a shufti on ebay.


  I picked up a trio of birdhouses today; they'll also go up tomorrow.  I can make my own easily enough, but I had a coupon that made these more economical to buy.  They're of a size to attract tits to the garden - stop sniggering!  Got dirty minds the lot o' youse!  Anywho, there's something of a debate on painting and/or staining birdhouses.  Some say do it, it makes them look pretty and can ensure that they're in keeping with the look of the garden.  Others say don't do it, that you don't know what chemicals are in your paint or stain and that it might poison the birds.  

  I have my own line of reasoning on the matter, and that is that if you put a glass over the entry hole and draw round it, then only paint outside the line, you should minimise the likelihood of stuff getting on the bird.  You should also refrain from painting the roof, as water on the roof might drip in through a gap in the wood, and don't paint over the baseplate.  The baseplate has gaps around it to allow air in and to allow any water that gets in to drain away, protecting nestlings from drowning or suffocation.  Painting this can occlude the gap and cause these problems.  Finally, never paint or stain the inside of the birdhouse.  This should remain largely dry in use, it may even pick up oil from the bird's feathers, so there is really no need to introduce chemicals into such an enclosed environment.  


Lastly then, I've found out how foxes are getting into the garden.  It's hard to see scale in a vertical photo, but this lot is six feet high!

Pics of the finished bench and the birdhouses in situ will appear either tomorrow or Tuesday.  FSM knows what I'm gonna do about Steptoe's Yard...

Wednesday, 5 December 2012

Rosie and Jim Go Outside

Finishing revisiting childhood in 3... 2... 1...

I'm back.

So we've got some new additions to the garden this morning.  Rosie and Jim are from Rubus 3 and they've taken up residence on the roof of the Strawbrary.


Bill is vaguely interested in the mysterious floating plant pot.  George is convinced that it's here to kill us all!  Meanwhile, the experiment's own page now comes up top on Google when you search for The Rubus Experiments, which is pretty awesome.

Tuesday, 4 December 2012

Winter Is Coming!

I won't really have much to do in the garden between Xmas and mid-January, so I might not blog much.  I tried to find a way of explaining how interesting my life is about to become, and then I found this on the internet:

ENOUGH SAID!

Monday, 3 December 2012

Chemistry in the kitchen

I make no assertion that this test is foolproof, nor can I accept responsibility for any gardening errors made based on the results of testing your soil this way.  Please dispose of the end products carefully and responsibly.  Always wash your hands before and after Chemistry.

Sunday, 25 November 2012

Wa-Hey!

Looks like I haven't just killed thirteen bramble cuttings!  This is excellent!  It means that the experiments are definitely going ahead (I've been biting my nails over this one) and that at the end of it I'm likely to have a viable plant with which to carry on the lineage of brambles that have lived up to now in the front garden.  Think in terms of Noah's Ark if that helps.

Pics when the camera turns up.

Monday, 19 November 2012

The Rubus Experiments, pt. 2

I'll be setting this one up tomorrow.  Broadly the same set-up as for Rubus 1, but with different variables:

Windowsill 'Tilly' (my bedroom)

  • Hot
  • Average humidity
  • Maximum direct Sun
Windowsill 'Tom' (dining room)
  • Hot
  • Very dry
  • High Sun
Windowsill 'Tiny' (living room)
  • Warm
  • Average humidity
  • Minimum direct Sun
Windowsill 4 (Rubus 1 group)
  • Coolest, though warm still
  • Most humid
  • Second-highest direct Sun
From Rubus 1, only Milo and Doodle will be involved in Rubus 2.

Further updates will now be found at rubusexperiments.blogspot.co.uk

The Rubus Experiments, pt 1

Note to secondary and FE biology teachers: feel free to use this as an example of a simple and practical botanical experiment.  The link presently comes up second on the first page of Google when searching for "The Rubus Experiments".  The Rubus tab across the top of the page will link to the site where I'm posting the experiments progress.  

  The ramp out front needs replacing as it is presently bridging the damp course.  Everyone finally admits it, so that'll likely happen a few months from now.  The ramp covers more than half the surface area of the front garden, so it'll mean something of a slash-and-burn of plantlife out there.  That Buddleia will go (TFFT!) but so will my brambles.  Those brambles have been there for over ten years and they're a brilliantly heavy cropper.  Every year in late Summer/early Autumn we have more blackberries than we know what to do with.  I didn't plant the bramble myself and nobody knows how many generations of Rubus have grown here.

  More important than sentiment is genetics.  Genes are like stories: they shift in the retelling.  The verses which suit the culture tend to be retained, to grow and to flourish, whilst those which don't will fade into obscurity.  That plant has a genetic heritage which enables it to hold its' own in that place, that soil, those conditions, in spite of competition from other plants.  That plant belongs to that garden, and a similar bramble bought from the garden centre might not suit the space in the same way.

  What to do, then?  Well, I intend to keep the bramble one way or another, but if the bulk of it must be chopped down then I might as well try some stuff out.  I'm not saying this'll work, so you shouldn't take this as a guide to action.  Still, here's what I'm getting up to:

The tools I'll need.  
I've filled the pots with soil from my garden, the same soil the parent plant is growing in.  Most would say to use potting compost, and I'd tend to agree.  My soil is crumbly, silty loam which successive gardeners since the 1930s have dug endless peaty compost into.  If I wanted a better medium for growing I'd have to invent it.

I took the soil from the beds.  Specifically from a point furthest from where my V. faba are growing.  No sense in depriving the beans at this time of year.  Once filled, I took cuttings from shooting tips of the Rubus. They're easily spotted by the claw-like, mitroid tips.  These are where new growth is happening most vigorously, so they should be most likely to take root.  The greenest shoots are best.  Prior to cutting the blades of the scissors were suspended in a pan of water as it boiled.
The growing end of a vine.  
The shoot cutting, size 7 hand for scale.  

I took only healthy shoots, avoiding any that had a problem with greenfly.  Heh, "problem", kinda makes it sound like "if you're not talking to your plants about greenfly..."  Aaanyways; once a shoot cutting was taken, it had to be rinsed under the tap.  A good soaking helps prepare the cuttings.  A hole was made in the centre of my potted soil using a skewer and the cut end put into the soil.  I then used my thumbs to press the soil down gently, just enough to close the hole without compressing the soil.  


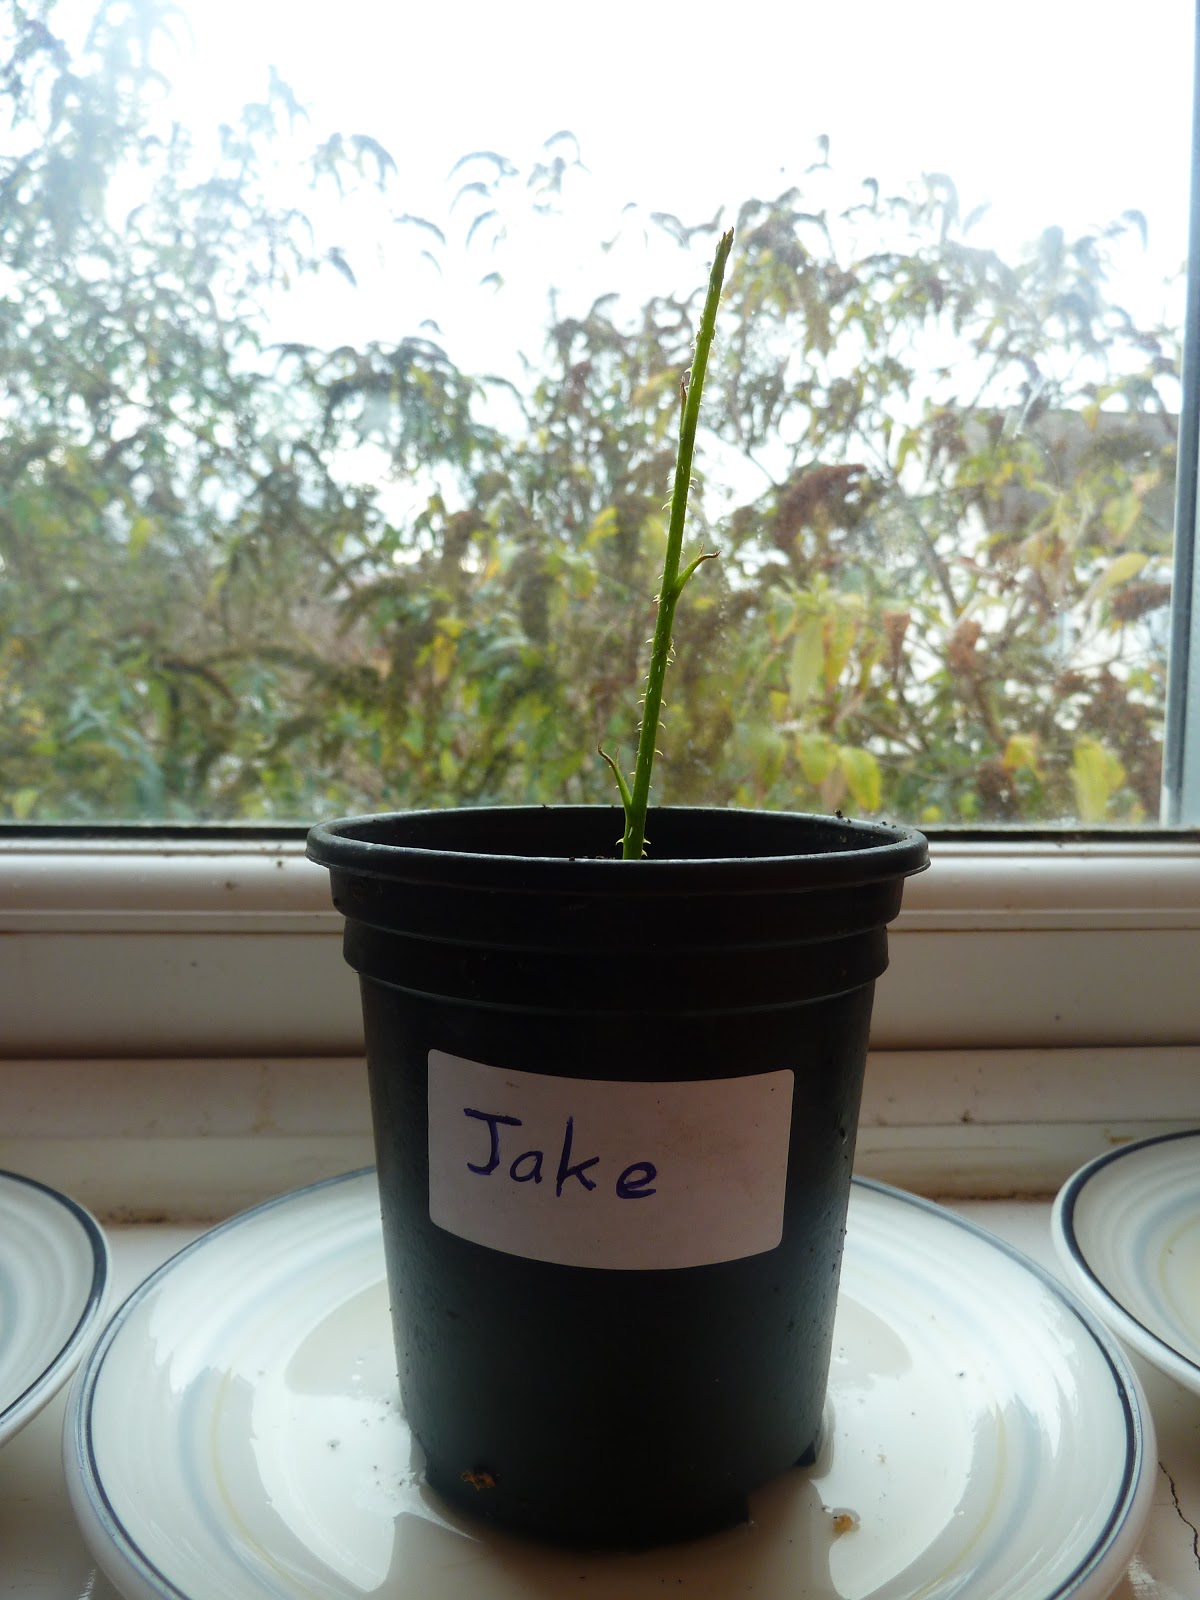
I've made five of these - each of roughly the same length - and put them in the Nursery.  Mike has been relocated to my bedroom windowsill for the duration.  Mike seems to be recovering well from his infection.  Once there they each got a solution of 4:2:6 up to the yellow line on the saucer.  Now for the experiments.  I say experiment, but these are more akin to case studies than true lab experiments, albeit with certain controls in place.  

  1. I've taken four cuttings of thin, green shoots.  One of a thicker, purpling shoot.  Which will fare better?
  2. Two of my shoots curve.  I've pointed the tips of these away from the Sun, where normally plants bend toward the Sun.  Will the phototropic action of auxins cause the whole shoot to straighten up as it brings itself sunward or will the tip kink towards the Sun instead?  

Basic exercises in botanical study, but interesting for all that.  I'll observe the cuttings over the coming months and report on their progress.  Here's the five as they stand today:


Sunday, 28 October 2012

Well, mostly apples...

Someone had to say it, as per Gytha's Law.

So I've laid down the Winter cider in preparation for a party I'm having the night before New Years'.  Cider is basic enough to make; you need a minimum of kit and no fear of a small amount of graft.  This can get messy so do it in the bathroom.

You'll need a rubber bucket and some manner of fermentation vessel.  Start by scrubbing and sterilising your kit.  Do this in a bath full of hot water with a chlorine-based steriliser.  Always be sure to rinse the chlorine away with plenty of water before you use it.

You'll need a tool for smashing apples.  I like the old MOE favourite; the 7Lb sledgehammer.  It can't be adequately sterilised, so instead you clean it thoroughly before wrapping the head and top half of the haft with shitloads of cling film.  

Line your now sterilised rubber bucket with a clean bedsheet.  I've chosen one of Squeaky's spares, which she won't know about until she wakes up one morning reeking of apples.  


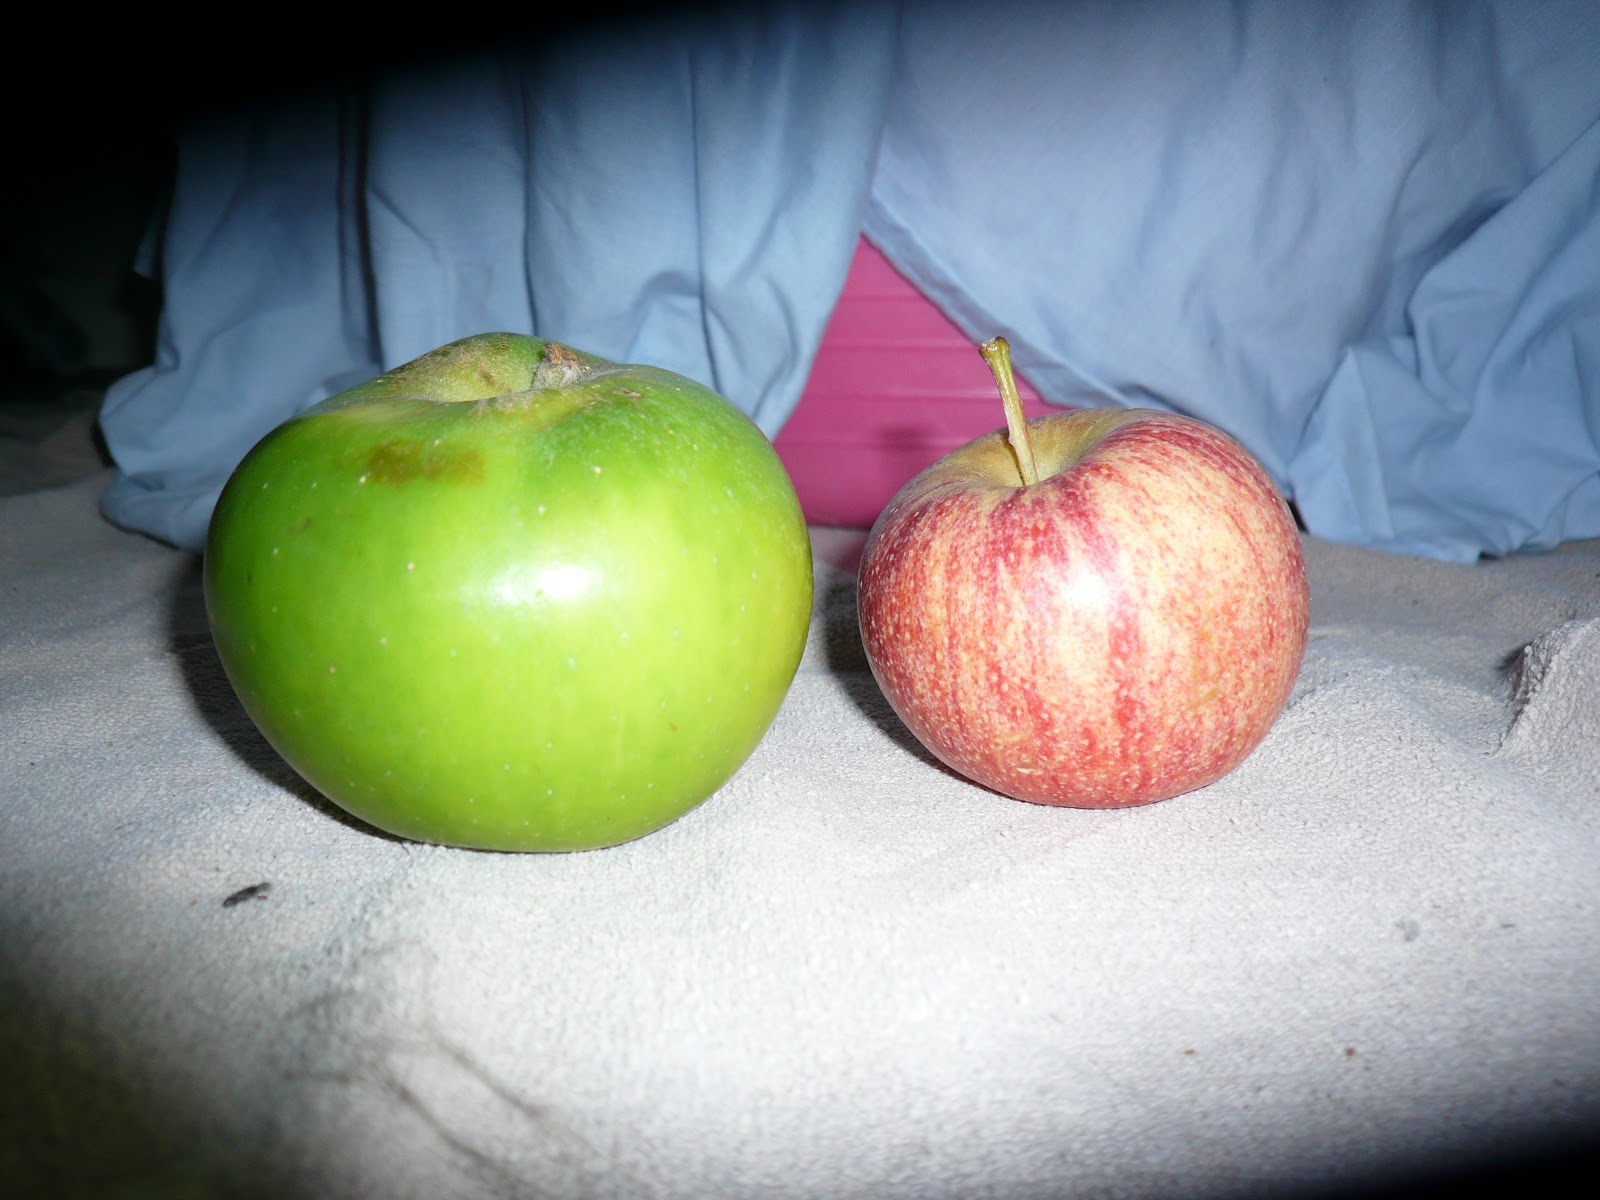
That's about £20 worth of apples.  Most of them are dessert apples for the sweetness, and because what's being fermented is sugar, but I've included a dozen bramleys for the tartness.  You'll want three or four different varieties of apple in there for a more complex flavour.  I may yet add some rhubarb or brambles or something.  


The next bit can be safely summarised by HULK SMASH!!!

Keep going with this until somebody complains about the noise, then switch to the blender.  Once you've got a rough mush - kinda like apple sauce - then it's time to strain off the liquid.  Bunch up the sheet and twist it hard.  

It's gone brown, but don't worry about that.  You aren't making apple pies here, you're fermenting; and whether you're using fermentation to make cider, cheese, or any number of useful and delicious things, what you're essentially doing is seeing that the raw material goes off under controlled circumstances.  By this point the bathroom stank of apples.  Tip all the liquid into the fermenter.  

The next thing to do is make up the yeast in a jug.  You'll need brewer's yeast (1 tsp/gallon plus one for luck), citric acid (1 tsp/gallon into the fermenter with the juice, minus 1 tsp which goes into the jug), yeast nutrient (same as for the citrate), and a couple of dessert spoons of brown sugar in the jug to give the yeast an easy start.  Fill it up with water that is neither lukewarm nor hot hot, but blood hot.  Stir vigorously.  

Yeast nutrient is a mixture of ammonium sulphate and ammonium phosphate.  Sounds nasty and you sure wouldn't want to eat it neat, but it all gets used up by the yeast.  We talk of terrestrial life as being carbon-based, but our cells revolve around six basic elements - carbon, hydrogen, oxygen, nitrogen, sulphur and phosphorus - which I tend to refer to collectively as "sponch".  Yeast nutrient dissociates in water into free-floating sponch (minus the carbon), and the yeast takes it straight up for use in protein synthesis and ATP synthesis.  I'll stop now, because not everybody shares my interest in cellular biology.  


The remaining apple mush, having lost much of its liquid content, should be firm and somewhat tacky, like a burger patty.  There are stems and seeds and all sorts in there, so it's useless for crumble.  Shove it in the composter and any fruits and flowers you grow in it will get a kick up the arse.  


Prepare the lid of your fermenter by running some vaseline around the threads of the lid with your fingertip to ensure a good seal.  

Then seal it up, taking care to put a reasonable amount of water in the airlock.  


You'll know it's working if after an hour or so you see bubbles in the airlock.  Yeast takes a little while to set up, so if nothing's happened after a few hours then check all your seals and wait until the following morning.  If you're still getting no bubbles then make up a fresh jug of yeast.  Pull out the bung and tip the yeast mixture in via funnel, then replace the bung.  

This video was taken about an hour after I sealed the fermenter:


This'll take a couple of months to brew, but my brewing tends to end up at about 10% ABV when it's done, so it'll be worth the wait.  To test ABV, take 100ml of your grog, heat it to 75ºC for a minute then measure the final volume, which we'll call n.  100-n=ABV.  

Looking forward to this!  If a certain someone can lab test it when it's finished then there'll be a gallon in it for her...

Saturday, 8 September 2012

On Sexism in Gaming

I game.  Mainly RPG and RTS, the odd driver, the odd shooter.  Sexism and rape culture don't bother creeping through Gamer Space, they stomp about in hobnailed boots.  Any argument with a woman can be resolved with a threat of rape.  A lad's bruised pride at being fragged by a woman can be readily bandaged with a threat of rape.  That isn't to say that all guys in Gamer Space are like this - they aren't - but a significant number of dickheads are ruining the culture.  It's fubar.

So I encountered this article today.


He's blunt about privilege in saying that society sets men above women. It does. Denying this serves nothing. The article is aimed in large part at forum mods, game mods, sysops and the like. Thus, a little paternalism is not incongruous with the audience, as it would be their job to tell others what to do anyway.

Meanwhile, the language (though well-intentioned) is clunky and occasionally problematic because he's not a hardcore feminist theorist. Most guys aren't. The thing is, in order for men everywhere to experience a paradigm shift in their intergender relations, the few guys who get things like privilege, rape culture and the like are the ones who'll have to explain it to their fellows. This is a given, as the eejits who've got their heads stuck firmly up their privilege just won't hear it from a woman. Some men will only be reached by other men, and so the responsibility to educate these individuals must rest with those who are able to do so.

During the course of this translation of feminism into the language of egotesticle, some language may go slightly awry, some words might be misplaced, some things may become simplified, or may not be explained to the standard of someone with an MA in Women's Studies. If however, the overall effect is to raise the consciousness of others, even slightly, then such hiccups are best excused rather than jumped upon.


I've encountered guys like this in Gamer Space, guys taking this sort of stand. I won't mention gamertags, but a few of those I've gotten to know are guys who know someone who has been raped, have seen the mess left behind, and don't like people making light of it. They don't have the grounding in activism or any sort of training in challenging this shit, they just do it cos it seems like the right thing to do.

Empowering women is half the battle. Don't get me wrong, it's crucial. Women need to be empowered to challenge this shit on their own turf and on their own terms, no argument from me. Just as true is that those men who recognise rape culture for what it is and see it as problematic need to be empowered to challenge it, to take aside another guy and say "this is no way to treat a human being". Men can often be raised in environments where taking a woman's side on matters of sexism is seen as compromising his own masculinity, or causing unnecessary divisions within a group, and these notions must be challenged before an ally can feel empowered to challenge the sexist behaviour of others. This is especially true in Gamer Space. When a guy tells another guy that he doesn't compromise his own masculinity in challenging sexism, this is a validating and empowering thing, and increases the likelihood that future behaviours will not go unchallenged.

I'll be moderating comments on this post.  Reasonable debate is fine but I shan't be hosting a flame war.

SixAgileFingers