Picked up three big sacks of organic, peat-free compost for twelve quid the lot and put my spuds in. The early crop were potted about a week before my first attempt at putting the beds in, but then I broke my good hand and couldn't work. Then we had a mini Winter. As a result the early crop potatoes were badly, badly in need of planting out.
Two sacks of compost in as a base layer, plus some mycorrhizal fungus and a little bonemeal.
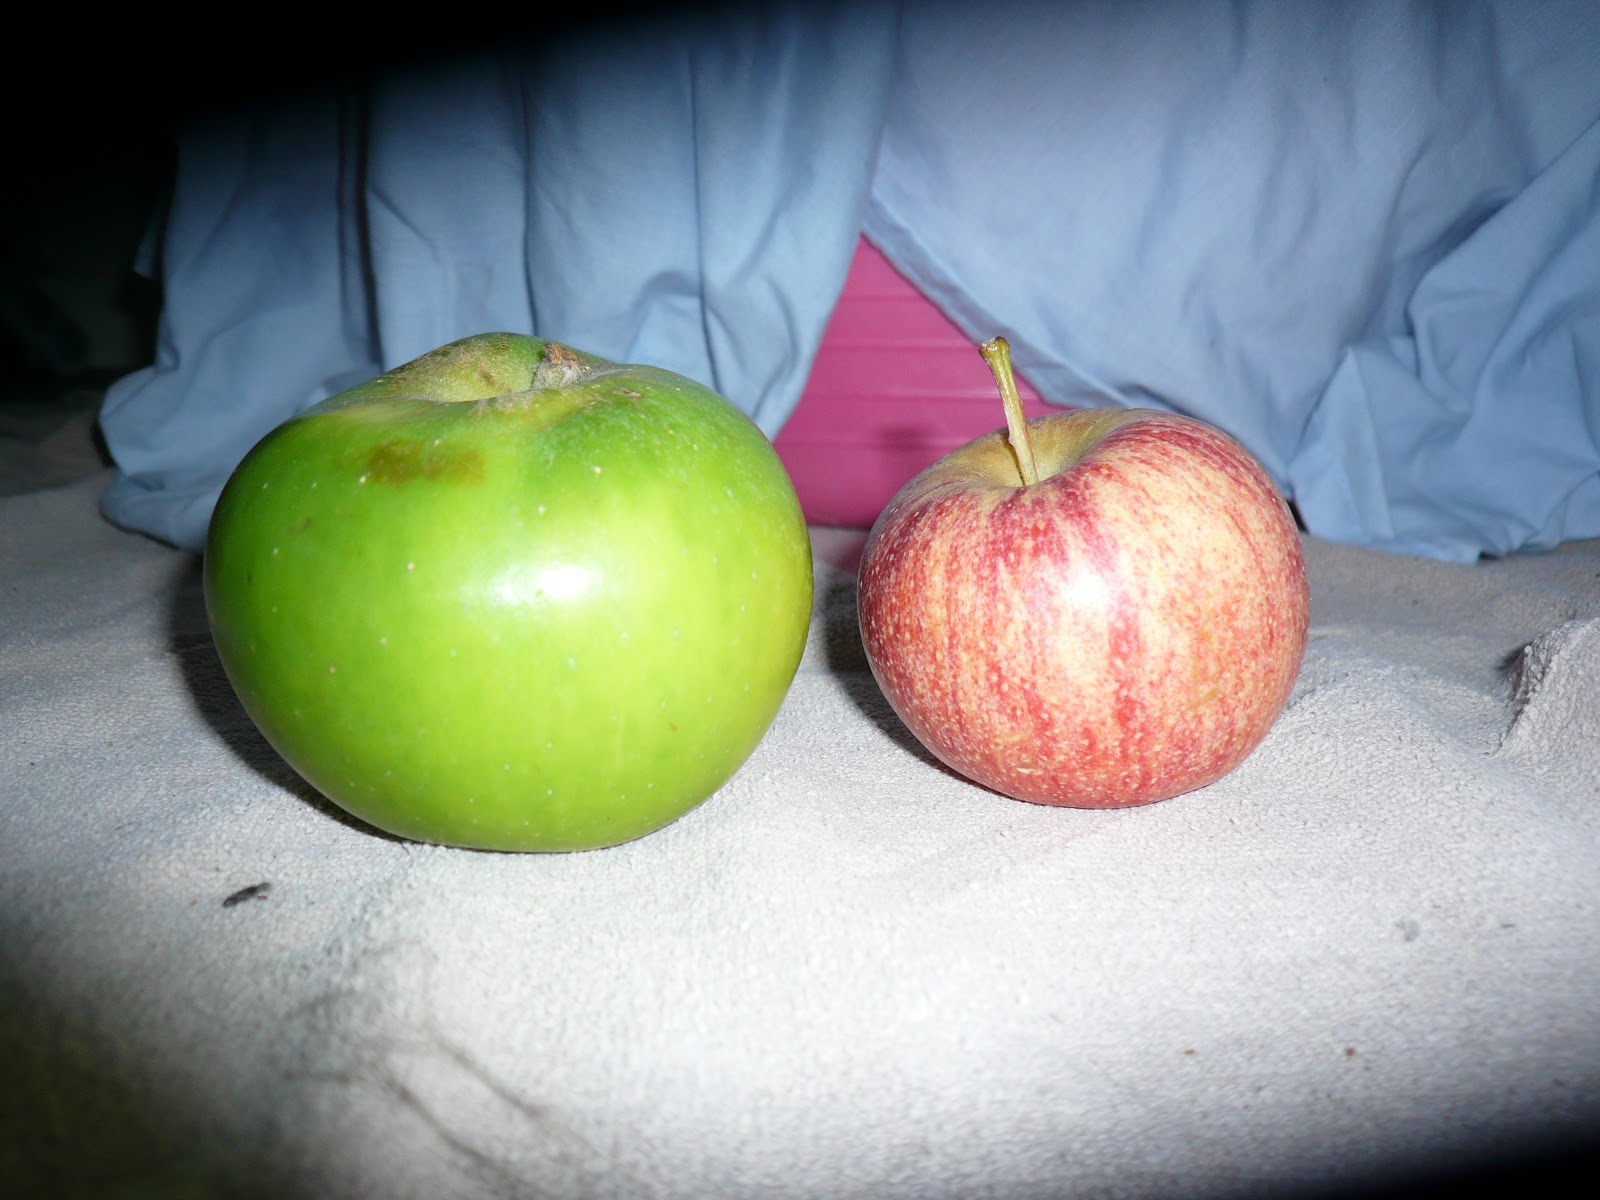
Early crop - Estima
Salad crop - Charlotte
Maincrop - King Edward
All buried now, and the earlies got a triple thick coat to catch up with their ridiculously long stems.
Potaters gonna potate!
And so shall I, with a mug of cider á la shed.
Next weekend I'll be putting in the allium bed, possibly broad beans too :)
Got the Hobbit today. I've been sat watching that with cured meat, strong cheese, a lovely ale chutney that I traded Ruth some homemade raspberry jam for the last time I was in Leamington, and the last quarter pint of that matured mead that Neil brought back from Denmark.
Life is good.
It's a tad warm in here, even though the heating claims to be off. I think that mead might've matured further in the months it's stood on my shelf. It certainly tastes stronger, and the honey flavour is deeper, sharper, and more complex than a freshly opened bottle of mjød tends to be; in fact it's knocking on for a honey brandy at this point. I shall have to import a box of bottles and store them in the attic until they're thoroughly dusty.
If you haven't tasted mead yet I implore you to try it. Once you've fallen in love with it you can move on to sample braggot and metheglin. Pear, clove, and elderflower metheglin brewed from citrus-fed honey and mountain water, matured until it's strong enough to wake the dead. I haven't had a drink like that in ten years nearly but I'd walk to John O' Groats for a bottle.
Summer project, methinks. Anybody got any elderflower they aren't using...?
I've made the cider, I've racked the cider, and today I've tested the cider. To do this I arranged some time in a lab, but you can do this at home if you have the parts:
Hotplate,
Pyrex beaker,
Mercury thermometer,
100cc cylinder, graduated by 1cc increments,
Clamp stand
Measure out 100cc of the cider using the cylinder, transfer it into the beaker, pop that onto the hotplate. Stand the thermometer in the cider, using the clamp stand to ensure that the bulb of the thermometer is near to the bottom of the beaker but not quite touching it. Heat it to 72ºC for a couple minutes until it's steaming nicely then take it off the heat and wait for the steam to stop. You wait for the steam to stop in order to get an accurate measurement. Once it isn't steaming any more, put it back into the measuring cylinder and read the volume. We will call this new measurement X.
100 minus X = your percent ABV
100 - 92 (my X value) = 8% ABV
I also tested it at a lower temperature to gauge the methanol content and judged it to be less than half a percent. I used Benedict's solution to test for aldehydes (formed when ethanol goes off) and found none of the characteristic orange sludge which appears in a positive test.
It tasted largely of rhubarb. Very sharp, but not too sharp. I think next week we'll be good to go!
In other news: that arum has grown since it moved to its new home. It seems to have settled in quite nicely :)
First a gripe about the state of humanity. Me and mine went to the Xmas thing in Hampton like we do every year. Lovely as ever. Someone got hurt up by the Uxbridge Road and an ambulance was coming up from Fulwell. It ended up slowed to a crawl behind a shuffling crowd outside the bakers' who were not so dense that they'd be harmed or even greatly inconvenienced by getting out of the way. So I shouted "ambulance!", which should have caused some reaction, but nobody moved. I shouted again "AMBULANCE!", and a few people moved. So I took a fortifying glug of hot wine and yelled "There is an ambulance behind you with blue lights on! Move into the right hand lane or onto the pavement! This is no longer a request!" That shifted them.
I recall a similar set of circumstances five years ago in Heiligendamm, only there the whole crowd took up the cry of "rettungswagen!" and immediately parted like the Red Sea from where I was to the horizon and beyond my sight. They were so good that the krankenwagen never had to go slower than 10 mph. THAT is how people are meant to behave! I despair of my compatriots.
Okay, on with the cider!
If you haven't yet read the start of this keg of cider then you'll find it here. Racking is the practice of transferring your unfinished wort from one vessel to another whilst fermentation is still ongoing. You do this after the first 1-2 months or whenever your sediment starts to look a bit dense. A little sediment is a good thing, it gives it a complexity of flavour. Too much sediment impairs the flavour. When you rack cider (or beer, or wine, or mead) into a new keg you leave the bulk of the sediment behind in the old keg.
The keg is meant to spend as much time sealed as possible; so if you wish to add ingredients that weren't in season or were too impractical or expensive when you laid down the cider, or top up with sugar or yeast or nutrient, then you wait until racking time to do this. Today I've added rhubarb and enough yeast and nutrient to begin a secondary fermentation.
It smelled as it should, which is not to say it smelled good. This stuff is not cider, but a half-fermented apple wort. Essentially it's a tub of rotten apples. It'll be another month's maturation before I dare call it a cider. Still, it had the beginnings of the right overtones and undertones. I reckon it'll be alright.
Proper rhubarb cider is hard to get in London. The commercial stuff is pale and crap, and the decent stuff from Kent and Somerset seldom leaves Kent and Somerset. If you want good cider in London then you have to either go five miles to find a niche pub that gets it in, or you have to brew it yourself.
As you can see, the sediment has gotten deep.
1) Sterilise the second keg and equipment in hot water and chlorine, as per the original.
2) Add any supplementary fruit (such as the rhubarb) to the second keg with a little nutrient before the wort is racked. Be sure to whiz the new fruit through the blender with some water and sugar to extract the maximum flavour from it.
3) Pour the wort from the old keg to the new keg via a towel in a sieve.
4) When it gets to the point that you're pouring as much sediment as product, and the liquid itself is thick, opaque orange, this is the time to stop. Tip the rest down the toilet.
5) Finally, add any supplementary yeast (made up the same way as the starting yeast) and seal the keg. If you use the same type of airlocks as I do then you can tell when the keg is airtight because twisting the keg lid any tighter causes the airlock cap to jump high enough into the air that it clears the chamber and pops off.
6) Leave it in the bath and run the hot tap to a quarter full. Let the revised wort warm up to between 25ºC and 30ºC in order to give the yeast a favourable starting point. Then remove the keg from the bath, dry it off and put it back where it normally lives.
Easy peasy. This lot'll be racked one last time, about a week before it's due to be drunk. The final racking is done to clear any scum from the top (resulting from the stringy bits in rhubarb, which are indigestible to yeast), and to introduce Campden tablets which halt further fermentation. Overbrewed cider is even worse than underbrewed cider. I'll then stash it away somewhere cold so that it tastes lovely and fresh when it's needed. The final rack is also when I'll draw some off for lab testing.
So I got a great tip from Julia at Stages of Succession, and ran with it. Fat cakes are a way of keeping birds in your garden over the Winter, which raises the overall bird-friendliness of the garden. I want birds and other creatures in my garden, because a greater biodiversity means fewer little sods eating my crops. Encouraging birds and other predators in is cheap and organic, while using pesticides costs money and is arguably poisonous.
Into the blender I've put:
A couple slices of bread too stale for toast,
The fat leftover from yesterday's roast potatoes,
A small pinch of salt,
A leftover carrot,
Some nuts,
Some lentils,
An apple that had rolled away unnoticed yesterday whilst I was making cider, from apples...
The resultant paste I put into the ice cube tray and froze overnight to drive out excess fluid and make it firmer. It also keeps those I'm not using right away fresh.
I've put three cubes in a shallow tray on the roof of the strawbrary. I chose that spot because the overlapping wire panels of its roof make it impossible to sneak silently across. Birds and squirrels sit unmolested there now because the local cats have learned there's no profit in stalking up there. That was the best I could engineer at the time, though when I've got a few bob spare I plan on attaching jingle bells to the underside of the wire near the joints.
In other news, the cider's ticking over nicely. At the bottom of yesterday's page is a short clip of the airlock, taken an hour after the vessel was sealed, bubbling at a rate of roughly 2.5 per ten seconds. The clip below on this page is from this morning. Now bubble rate is an interesting proxy for fermentation rate. Obviously you can't measure alcohol content in real time, and nor can you sit and watch the yeasts eat, but the bubble rate suggests how much sugar they're eating. From this clip, I'd suggest they're having a twenty course Roman orgy in there!
So I've laid down the Winter cider in preparation for a party I'm having the night before New Years'. Cider is basic enough to make; you need a minimum of kit and no fear of a small amount of graft. This can get messy so do it in the bathroom.
You'll need a rubber bucket and some manner of fermentation vessel. Start by scrubbing and sterilising your kit. Do this in a bath full of hot water with a chlorine-based steriliser. Always be sure to rinse the chlorine away with plenty of water before you use it.
You'll need a tool for smashing apples. I like the old MOE favourite; the 7Lb sledgehammer. It can't be adequately sterilised, so instead you clean it thoroughly before wrapping the head and top half of the haft with shitloads of cling film.
Line your now sterilised rubber bucket with a clean bedsheet. I've chosen one of Squeaky's spares, which she won't know about until she wakes up one morning reeking of apples.
That's about £20 worth of apples. Most of them are dessert apples for the sweetness, and because what's being fermented is sugar, but I've included a dozen bramleys for the tartness. You'll want three or four different varieties of apple in there for a more complex flavour. I may yet add some rhubarb or brambles or something.
The next bit can be safely summarised by HULK SMASH!!!
Keep going with this until somebody complains about the noise, then switch to the blender. Once you've got a rough mush - kinda like apple sauce - then it's time to strain off the liquid. Bunch up the sheet and twist it hard.
It's gone brown, but don't worry about that. You aren't making apple pies here, you're fermenting; and whether you're using fermentation to make cider, cheese, or any number of useful and delicious things, what you're essentially doing is seeing that the raw material goes off under controlled circumstances. By this point the bathroom stank of apples. Tip all the liquid into the fermenter.
The next thing to do is make up the yeast in a jug. You'll need brewer's yeast (1 tsp/gallon plus one for luck), citric acid (1 tsp/gallon into the fermenter with the juice, minus 1 tsp which goes into the jug), yeast nutrient (same as for the citrate), and a couple of dessert spoons of brown sugar in the jug to give the yeast an easy start. Fill it up with water that is neither lukewarm nor hot hot, but blood hot. Stir vigorously.
Yeast nutrient is a mixture of ammonium sulphate and ammonium phosphate. Sounds nasty and you sure wouldn't want to eat it neat, but it all gets used up by the yeast. We talk of terrestrial life as being carbon-based, but our cells revolve around six basic elements - carbon, hydrogen, oxygen, nitrogen, sulphur and phosphorus - which I tend to refer to collectively as "sponch". Yeast nutrient dissociates in water into free-floating sponch (minus the carbon), and the yeast takes it straight up for use in protein synthesis and ATP synthesis. I'll stop now, because not everybody shares my interest in cellular biology.
The remaining apple mush, having lost much of its liquid content, should be firm and somewhat tacky, like a burger patty. There are stems and seeds and all sorts in there, so it's useless for crumble. Shove it in the composter and any fruits and flowers you grow in it will get a kick up the arse.
Prepare the lid of your fermenter by running some vaseline around the threads of the lid with your fingertip to ensure a good seal.
Then seal it up, taking care to put a reasonable amount of water in the airlock.
You'll know it's working if after an hour or so you see bubbles in the airlock. Yeast takes a little while to set up, so if nothing's happened after a few hours then check all your seals and wait until the following morning. If you're still getting no bubbles then make up a fresh jug of yeast. Pull out the bung and tip the yeast mixture in via funnel, then replace the bung.
This video was taken about an hour after I sealed the fermenter:
This'll take a couple of months to brew, but my brewing tends to end up at about 10% ABV when it's done, so it'll be worth the wait. To test ABV, take 100ml of your grog, heat it to 75ºC for a minute then measure the final volume, which we'll call n. 100-n=ABV.
Looking forward to this! If a certain someone can lab test it when it's finished then there'll be a gallon in it for her...