You'll need a rubber bucket and some manner of fermentation vessel. Start by scrubbing and sterilising your kit. Do this in a bath full of hot water with a chlorine-based steriliser. Always be sure to rinse the chlorine away with plenty of water before you use it.

You'll need a tool for smashing apples. I like the old MOE favourite; the 7Lb sledgehammer. It can't be adequately sterilised, so instead you clean it thoroughly before wrapping the head and top half of the haft with shitloads of cling film.

Line your now sterilised rubber bucket with a clean bedsheet. I've chosen one of Squeaky's spares, which she won't know about until she wakes up one morning reeking of apples.


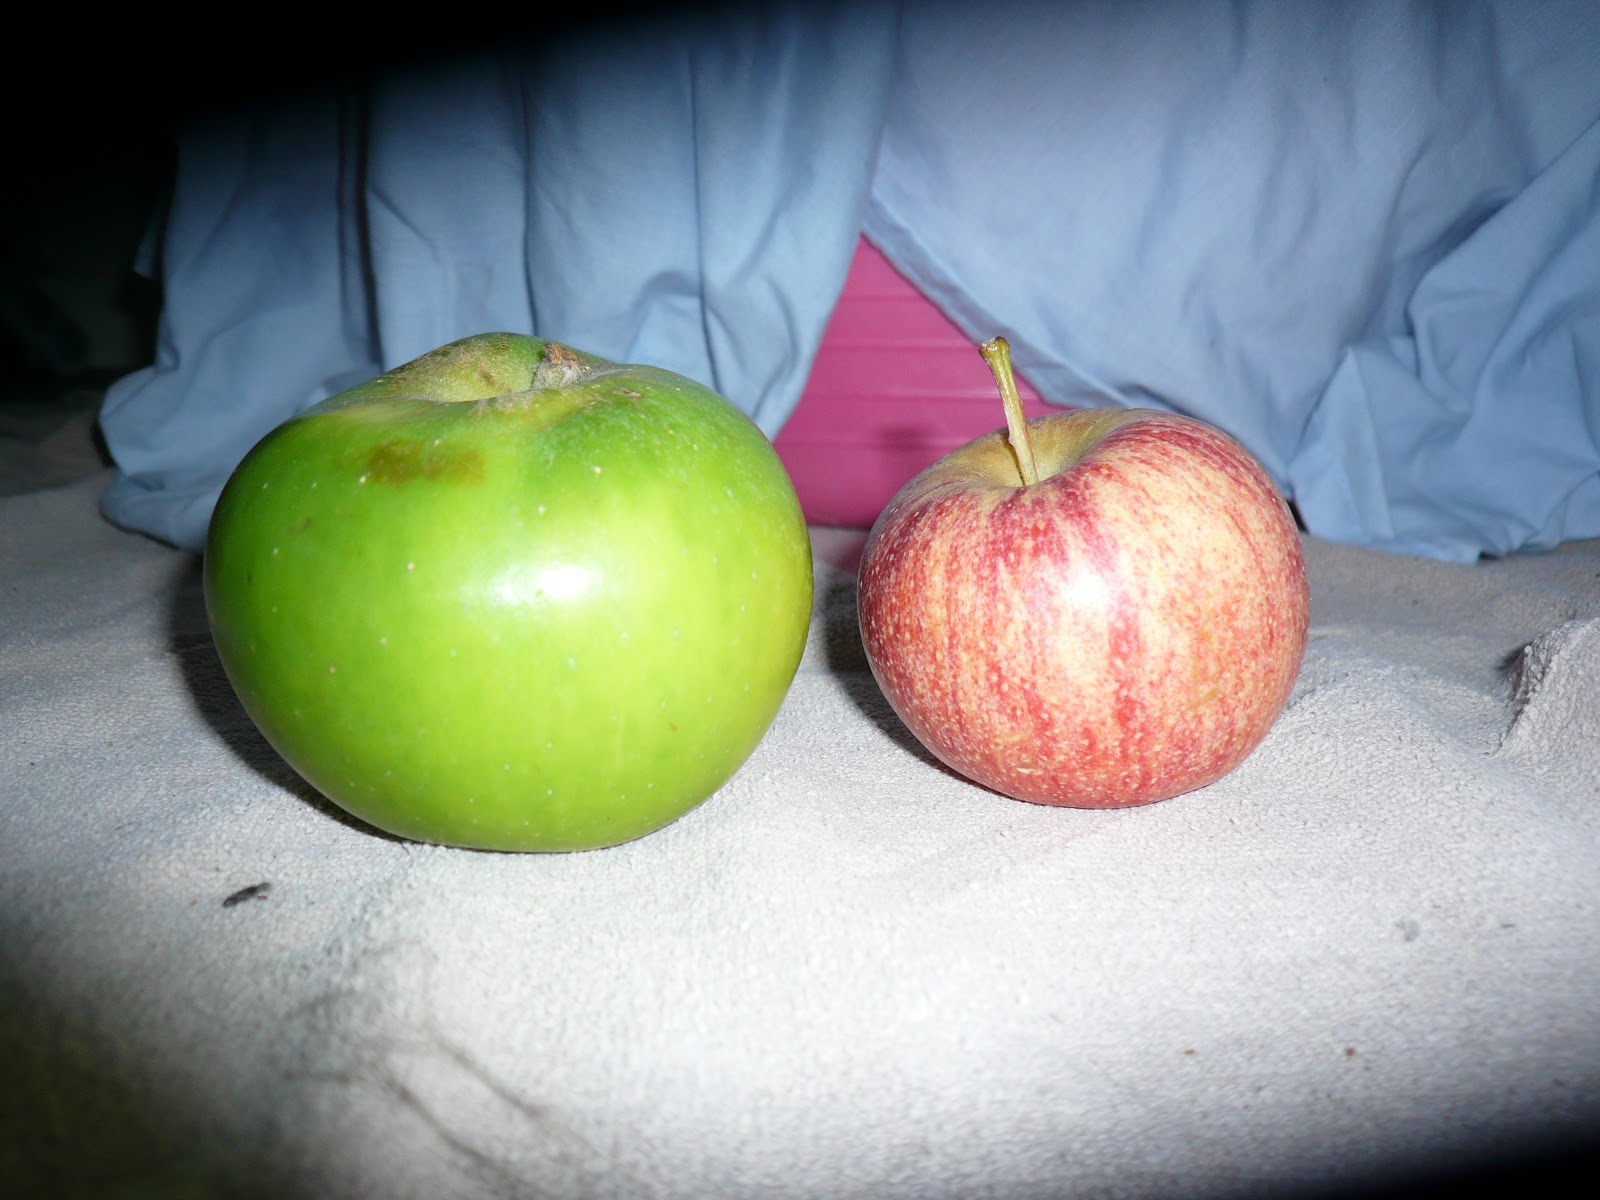
That's about £20 worth of apples. Most of them are dessert apples for the sweetness, and because what's being fermented is sugar, but I've included a dozen bramleys for the tartness. You'll want three or four different varieties of apple in there for a more complex flavour. I may yet add some rhubarb or brambles or something.
The next bit can be safely summarised by HULK SMASH!!!


Keep going with this until somebody complains about the noise, then switch to the blender. Once you've got a rough mush - kinda like apple sauce - then it's time to strain off the liquid. Bunch up the sheet and twist it hard.

It's gone brown, but don't worry about that. You aren't making apple pies here, you're fermenting; and whether you're using fermentation to make cider, cheese, or any number of useful and delicious things, what you're essentially doing is seeing that the raw material goes off under controlled circumstances. By this point the bathroom stank of apples. Tip all the liquid into the fermenter.
The next thing to do is make up the yeast in a jug. You'll need brewer's yeast (1 tsp/gallon plus one for luck), citric acid (1 tsp/gallon into the fermenter with the juice, minus 1 tsp which goes into the jug), yeast nutrient (same as for the citrate), and a couple of dessert spoons of brown sugar in the jug to give the yeast an easy start. Fill it up with water that is neither lukewarm nor hot hot, but blood hot. Stir vigorously.
Yeast nutrient is a mixture of ammonium sulphate and ammonium phosphate. Sounds nasty and you sure wouldn't want to eat it neat, but it all gets used up by the yeast. We talk of terrestrial life as being carbon-based, but our cells revolve around six basic elements - carbon, hydrogen, oxygen, nitrogen, sulphur and phosphorus - which I tend to refer to collectively as "sponch". Yeast nutrient dissociates in water into free-floating sponch (minus the carbon), and the yeast takes it straight up for use in protein synthesis and ATP synthesis. I'll stop now, because not everybody shares my interest in cellular biology.

The remaining apple mush, having lost much of its liquid content, should be firm and somewhat tacky, like a burger patty. There are stems and seeds and all sorts in there, so it's useless for crumble. Shove it in the composter and any fruits and flowers you grow in it will get a kick up the arse.

Prepare the lid of your fermenter by running some vaseline around the threads of the lid with your fingertip to ensure a good seal.

Then seal it up, taking care to put a reasonable amount of water in the airlock.


You'll know it's working if after an hour or so you see bubbles in the airlock. Yeast takes a little while to set up, so if nothing's happened after a few hours then check all your seals and wait until the following morning. If you're still getting no bubbles then make up a fresh jug of yeast. Pull out the bung and tip the yeast mixture in via funnel, then replace the bung.
This video was taken about an hour after I sealed the fermenter:
This'll take a couple of months to brew, but my brewing tends to end up at about 10% ABV when it's done, so it'll be worth the wait. To test ABV, take 100ml of your grog, heat it to 75ºC for a minute then measure the final volume, which we'll call n. 100-n=ABV.
Looking forward to this! If a certain someone can lab test it when it's finished then there'll be a gallon in it for her...
"If a certain someone can lab test it when it's finished then there'll be a gallon in it for her..."
ReplyDelete:D I'll see what I can do... Though my taste test seems to be as accurate as the lab tests - nothing like 27 years of drinking experience. Taste is still very much a feature of analytical labs in breweries by the way.
I can imagine that. A banana flavour would suggest esterification, which is to be avoided.
Delete